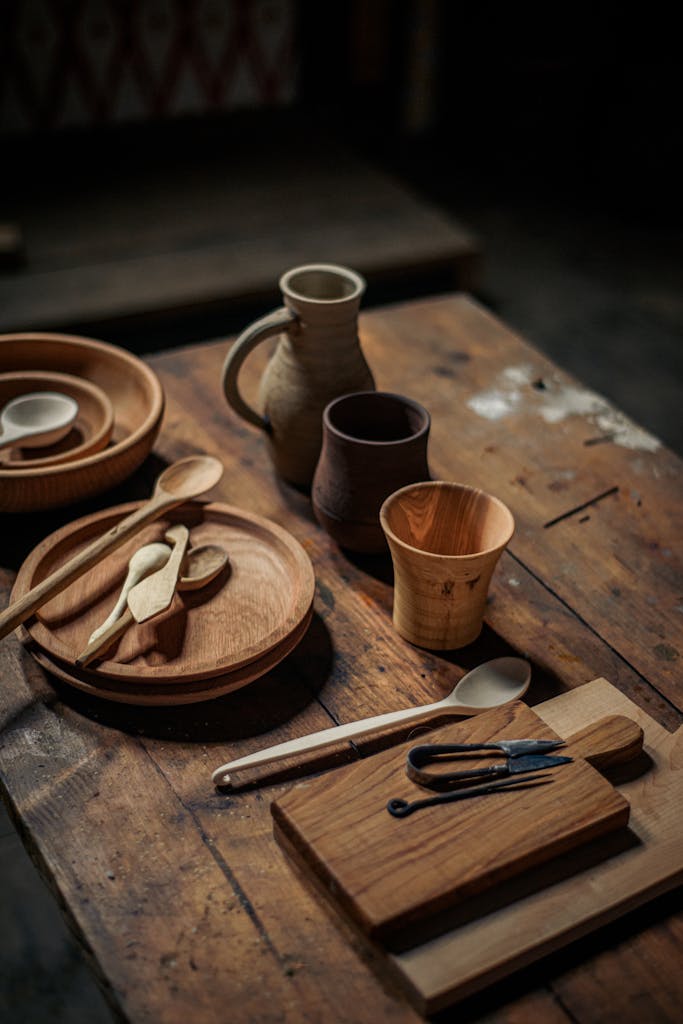
Wood Selection to Finishing Touch: A Detailed Guide
Every woodworking masterpiece begins with choosing the right wood and ends with the perfect finish. This detailed guide walks you through every essential step of the woodworking process—from wood selection to the final finishing touch—ensuring durability, beauty, and craftsmanship in your project.
1. Choosing the Right Wood
The foundation of a successful project lies in the wood you choose. Different types of wood offer different textures, colors, grains, and strengths.
Types of Wood:
- Softwoods (Pine, Cedar, Fir): Affordable, lightweight, and easy to work with. Ideal for framing, paneling, and decorative projects.
- Hardwoods (Oak, Maple, Walnut, Teak): Strong, dense, and visually appealing. Best for furniture, flooring, and cabinetry.
Tips for Selection:
- Inspect for knots, cracks, or warping.
- Consider wood moisture content.
- Match wood type with project purpose.
2. Measuring and Planning
Accurate measurements and planning prevent waste and mistakes.
- Use a measuring tape, ruler, and square for precision.
- Create a cutting list and step-by-step layout.
- Consider expansion gaps if working with natural wood.
3. Cutting and Shaping
Once planned, use appropriate tools to cut and shape the wood.
Common Tools:
- Hand saws, jigsaws, table saws
- Chisels, routers, and planes
Tip: Cut slightly oversize and trim for perfect fit.
4. Joining Techniques
Joining brings all the components together. Choose joints based on strength, appearance, and ease of construction.
Popular Methods:
- Butt joints, lap joints, dowel joints
- Mortise & tenon, biscuit joints, pocket screws
Use clamps and adhesives to ensure a tight, lasting bond.
5. Sanding and Smoothing
Before finishing, smooth the surfaces using sandpaper or power sanders.
Steps:
- Start with coarse grit (80–100), then medium (120–150), and finish with fine (220+).
- Always sand with the grain to avoid scratches.
- Clean off dust with a tack cloth.
6. Finishing Touch
Finishing enhances appearance and protects your work.
Types of Finish:
- Stains – add color while showing the grain.
- Oils – like linseed or tung oil, provide natural protection.
- Varnish & Polyurethane – long-lasting surface protection.
- Paint – for colorful and opaque looks.
Apply in Thin Coats:
- Use a brush, cloth, or sprayer.
- Let each coat dry completely before applying the next.
- Sand lightly between coats for smoothness.
Conclusion
From selecting the perfect wood to applying the final finish, woodworking is a step-by-step craft rooted in patience, precision, and creativity. Master each phase and watch your projects come to life with lasting quality and beauty.