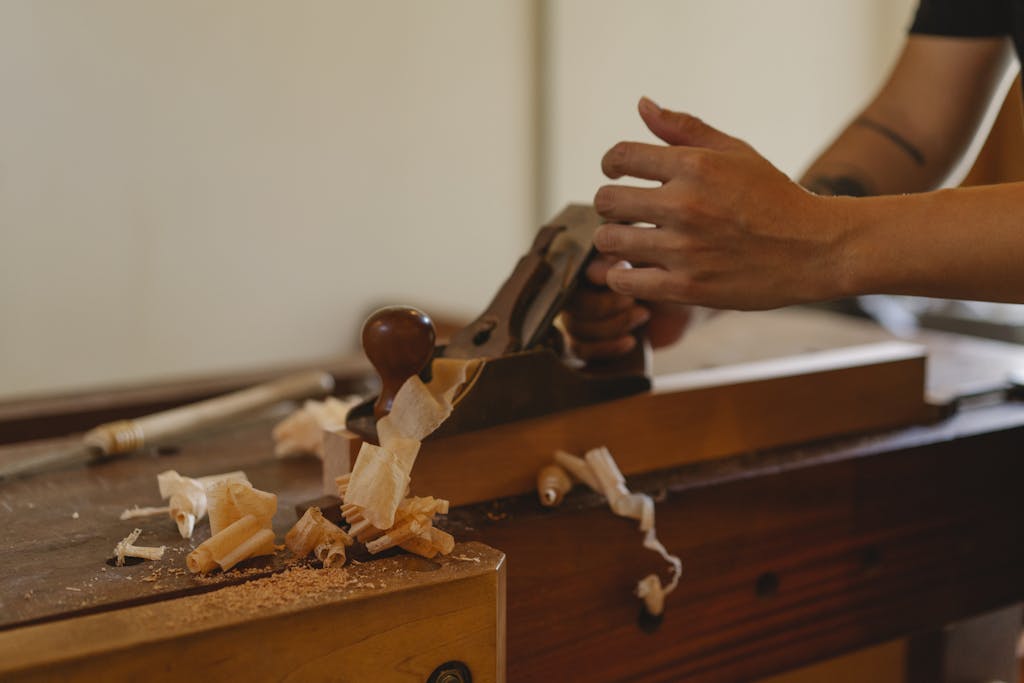
1. Cutting: Shaping the Raw Material
Precision is key during cutting. Measurements must be accurate, and the right type of saw blade should be chosen based on the wood type and thickness. Safety gear—like goggles and gloves—is essential to avoid injuries.
2. Joining: Assembling the Pieces
Once the pieces are cut, the next step is to join them together. This step brings the project to life, whether it’s a simple box or a complex cabinet. There are several joining techniques, including:
- Butt joints – Simple and quick, often reinforced with screws or nails.
- Dovetail joints – Strong and decorative, commonly used in drawer construction.
- Mortise and tenon – Traditional and durable, ideal for tables and chairs.
- Biscuit and dowel joints – Modern methods using wood inserts for hidden strength.
Glue, screws, nails, or clamps are used to hold the joints together firmly. Ensuring a square and level assembly is vital for a professional finish.
3. Finishing: Bringing Out the Beauty
Finishing is the final step in the woodworking process. It enhances the appearance of the project and protects the wood from moisture, wear, and damage. The finishing process usually involves sanding, staining, sealing, and polishing.
Sanding smooths the surface and removes any imperfections. Staining adds color and brings out the wood grain. Sealers and topcoats like varnish or polyurethane provide a durable protective layer.
Each finish gives a different effect, and choosing the right one depends on the project’s purpose, the wood type, and the desired aesthetic.
Conclusion
Woodworking may seem complex at first, but breaking it down into the core steps—cutting, joining, and finishing—makes it more manageable and enjoyable. Whether you’re building furniture, crafting décor, or tackling home improvement projects, mastering these three processes will put you on the path to woodworking success.


