Planning to Finishing: A Carpenter’s Workflow Explained
Carpentry is more than just hammering nails and cutting wood. It’s a blend of creativity, precision, and structured planning. Every professional carpenter follows a well-organized workflow that ensures each project is completed efficiently, safely, and to the highest standard. From the initial idea to the final polish, here’s a step-by-step look at a carpenter’s workflow.
1. Project Planning and Design
Every successful carpentry project begins with a clear plan. The carpenter meets with the client to understand the vision, requirements, budget, and timeline. Whether it’s building custom furniture, renovating a kitchen, or framing a house, detailed discussions help shape the project’s scope.
Next comes the design phase, where sketches or blueprints are created. Modern carpenters often use CAD (Computer-Aided Design) software to develop accurate plans. Material selection is also finalized during this stage. Choosing the right type of wood, fasteners, and finishes is essential for both durability and aesthetics.
2. Material Preparation and Tools Check
Before any cutting or building begins, the carpenter sources materials based on the finalized design. High-quality lumber and supplies are inspected for defects to ensure a clean build. Alongside this, tools and machinery are checked for functionality and safety. A well-prepared workshop, complete with saws, drills, clamps, and sanders, sets the foundation for smooth execution.
3. Measuring and Cutting
The golden rule in carpentry is “measure twice, cut once.” Precision is critical. Accurate measurements prevent material waste and ensure components fit perfectly. Using measuring tapes, squares, and marking tools, each piece of wood is marked and then cut according to the design. This stage requires a steady hand, a sharp eye, and a deep understanding of the wood’s grain and behavior.
4. Assembly and Joinery
Once all components are cut, the carpenter moves on to assembling the pieces. Depending on the project, this might involve complex joinery techniques like dovetails, mortise and tenon, or simpler methods like screws and nails. Glues and clamps are often used to strengthen the joints. Patience is key here—rushing can compromise the integrity of the build.
5. Sanding and Surface Preparation
Before applying any finish, the wood must be smoothed. Sanding removes rough edges, tool marks, and imperfections. Starting with coarse grit and progressing to finer grits, the carpenter works to create a silky surface. This step is essential for both the look and feel of the final product.
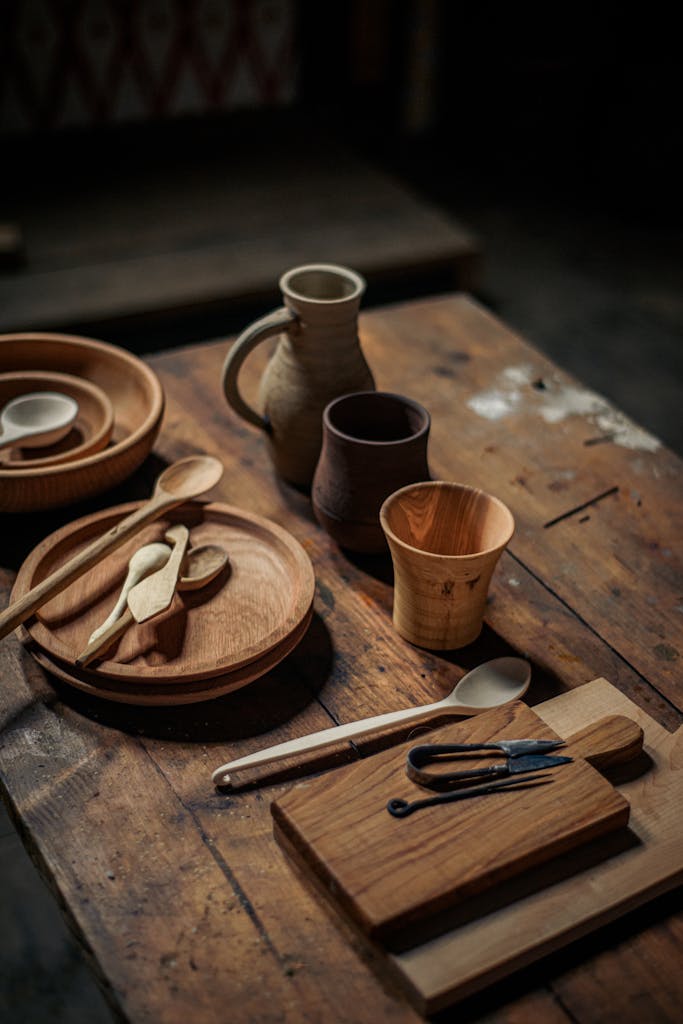
6. Finishing Touches
The final stage is applying the chosen finish—whether it’s stain, paint, varnish, or oil. This not only enhances the wood’s natural beauty but also protects it from wear and moisture. Multiple coats may be applied, with light sanding in between for a flawless result.
Conclusion
A carpenter’s workflow is a testament to craftsmanship and discipline. Each stage—from planning to finishing—plays a vital role in creating functional and beautiful pieces. For seasoned professionals and DIY enthusiasts alike, understanding this process is key to producing quality work that stands the test of time.
Let me know if you’d like a version tailored for a blog or your website thecarpentery.com!