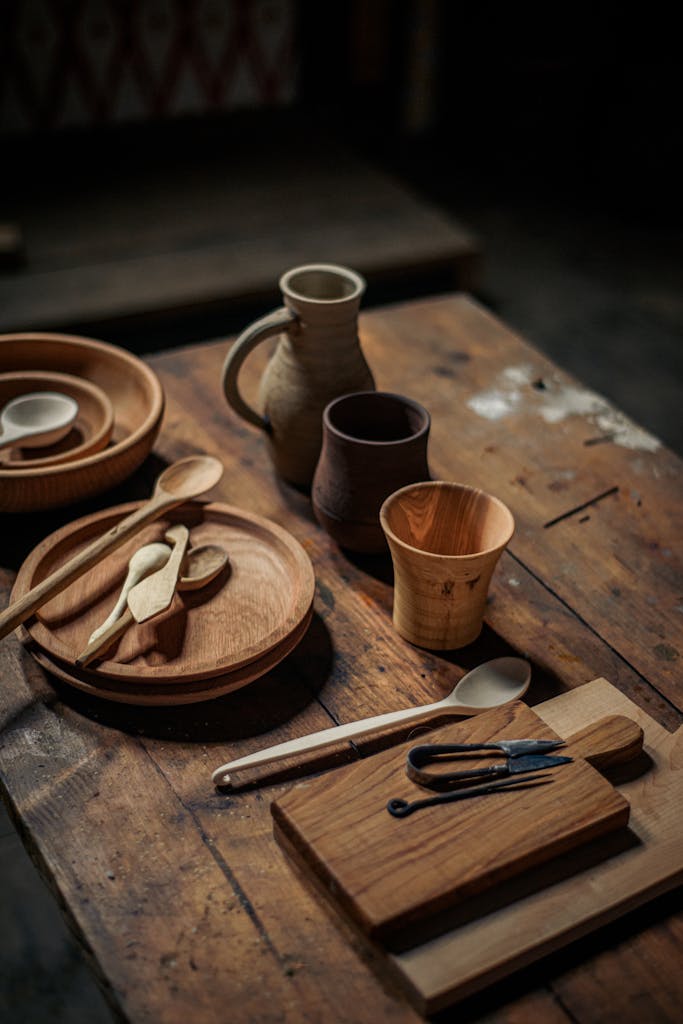
From a raw idea to a finished masterpiece—understand each essential step in woodworking.
1. Project Planning
Every successful woodworking project starts with a solid plan. This stage includes:
- Choosing what to build and where it will be used
- Sketching designs or using digital design software
- Selecting appropriate wood and materials
- Creating a cut list and estimating the quantity of supplies
- Budgeting time and money
Good planning minimizes mistakes, saves resources, and leads to better results.
2. Wood Selection and Preparation
Choosing the right type of wood is crucial. Consider factors like grain pattern, hardness, stability, and cost. Once selected, prepare the wood by:
- Inspecting for defects like knots, cracks, or warping
- Cutting boards to rough sizes
- Jointing and planing to square and flatten the surfaces
- Allowing wood to acclimate to the workshop environment if necessary
3. Measuring and Marking
Accurate measurements and clear markings are essential to precision. Use quality measuring tools like rulers, squares, marking gauges, and pencils to outline cuts and joinery. “Measure twice, cut once” is more than a saying—it’s a standard practice.
4. Cutting and Shaping
This step involves transforming lumber into usable parts. Depending on the design, this may include:
- Crosscutting and ripping boards with saws
- Creating curves or decorative edges
- Routing grooves or profiles
- Shaping using planes, chisels, or sanders
Always work with sharp tools and follow safety precautions.
5. Joinery
Joining parts together is both a structural and artistic step in woodworking. Common joinery methods include:
- Dovetail and box joints for boxes and drawers
- Mortise and tenon for strong right-angle connections
- Pocket holes or dowels for hidden joints
- Glue, nails, or screws for quick assembly
6. Assembly
Once all parts are cut and joints are ready, it’s time to assemble the project. Dry-fitting before final assembly ensures everything fits. During assembly:
- Apply wood glue where necessary
- Use clamps to hold pieces while glue cures
- Double-check for squareness and alignment
7. Sanding
Sanding smooths surfaces and prepares wood for finishing. Begin with coarse grits (80–100) and progress to fine grits (180–220+). Sand by hand or with power sanders, always going with the grain to avoid scratches.
8. Finishing and Polishing
Finishing protects wood and enhances its appearance. This final stage involves:
- Applying stain or dye for color
- Sealing with oils, shellac, lacquer, or polyurethane
- Buffing or polishing to achieve the desired shine
Each layer should dry completely before adding the next. A well-finished piece can last for generations.
Conclusion
The journey from raw wood to polished product involves careful planning, skilled craftsmanship, and attention to detail. Whether you’re a beginner or seasoned woodworker, mastering each step—from planning to polishing—helps create projects you can take pride in. Remember, woodworking is not just about tools and wood—it’s about patience, practice, and passion.


